When building web applications you’ll often be using services on the client that require authentication. A common way client-side SDKs like Ably authenticate themselves is by using server-side API endpoints that generate and return access tokens. Using access tokens allows you to keep your service’s secrets on the server and instead issue time-limited and scope-limited tokens to a client. Some services even let you create revocable tokens for added security.
But how do you protect those token-generating endpoints? For a React application, Clerk is a simple but powerful way to add user management and authentication capabilities. In this blog post, I’ll show you how to use Clerk to protect routes in an Next.js application that users will access and how to protect the token-generating API endpoints the Ably client-side SDKs need.
If you want to skip ahead for the completed sample code, head over to this GitHub repository. Otherwise, let's start building!
Prerequisites
Before building this application you’ll need to make sure you have an Ably account. If you don’t have one you can sign up for a free trial. You will also need a Clerk account. Clerk has a generous free tier that makes it super simple to add user management to your application.
When creating your Clerk account, make sure you enable the Username attribute for your Application. We'll use that later in the post to show how you can access the user data Clerk manages for you to customize an Ably client.
Once you have accounts for Clerk and Ably you will need to locate your Clerk API Keys and Ably API key. Clerk API keys are found in the API Keys section of your Clerk applications dashboard. Ably API keys are found in the API Keys section of your Ably applications dashboard.
Finally, you’ll need to make sure you have at least Node 18 installed in order to build this project. You can check your current Node version by running the command node -v from your terminal or command line.
Application Setup
Get started building the application by using using giget to clone an Ably Next.js starter kit application:
npx giget@latest gh:ablydevin/starter-kits/next-typescript clerk-ably-nextjs
The starter kit provides you with a Next.js application that has been preconfigured with an Ably client. Once you’ve cloned the folder, make sure you copy the .env.example file and drop in your Ably API key.
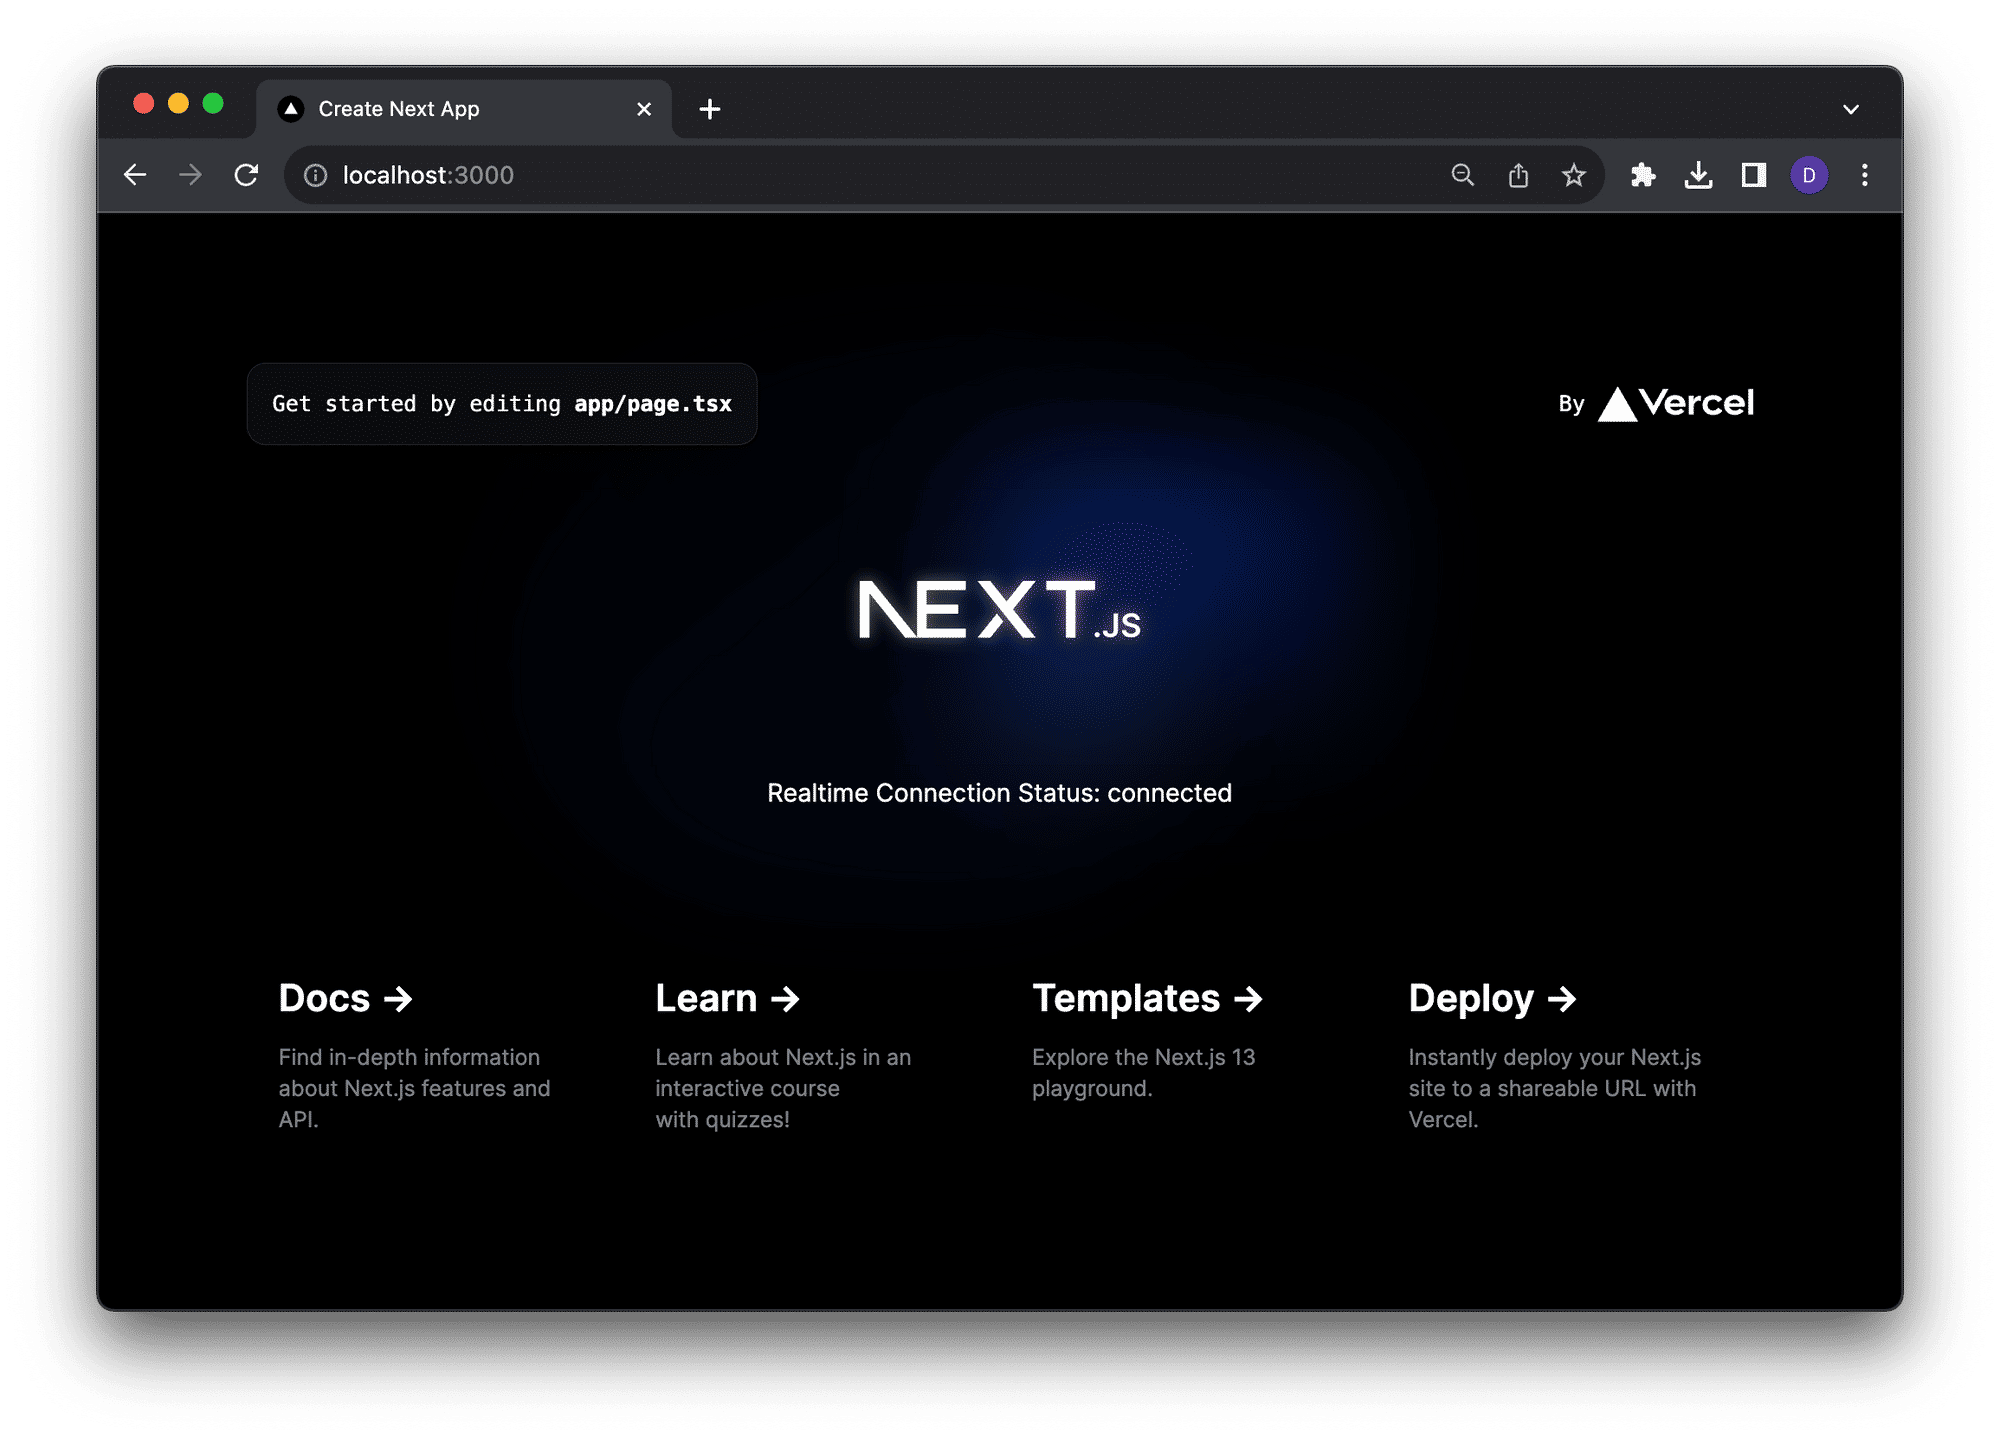
Make sure the project works as expected by installing its dependencies using `npm install`. Test the site by running `npm run dev`. The project should start and load on a local web server running on port 3000. Open the site in a browser to verify it loads successfully.
Once the basic site is running, you can add the infrastructure needed to use Clerk in the site.
Start by adding the dependency for the Clerk package:
npm install @clerk/nextjs
Next set up the environment variables used to store the Clerk key and secret we’ll use for this project:
NEXT_PUBLIC_CLERK_PUBLISHABLE_KEY="[YOUR_CLERK_PUBLISHABLE_KEY]"
CLERK_SECRET_KEY="[YOUR_CLERK_SECRET_KEY]"
NEXT_ABLY_API_KEY="[YOUR_ABLY_API_KEY]"
Setting up Clerk Authentication
Let's add basic authentication to our application using Clerk. Clerk provides a set of Next.js specific components and helpers that make adding user management a breeze.
Open layout.tsx and surround the default HTML tags with a <ClerkProvider> component:
import { ClerkProvider } from "@clerk/nextjs";

// ...

return (
  <ClerkProvider>
    <html lang="en">
      <body className={inter.className}>{children}</body>
    </html>
  </ClerkProvider>
)
This puts our entire application within the scope of Clerk. Next, we need a route where unauthenticated users sign in. Under the app directory add a new folder named sign-in and add a new file called page.tsx to it.
import { SignIn } from "@clerk/nextjs";

export default function Page() {
  return <SignIn />;
}
The page renders the <SignIn> component which is Clerks default UI for signing in users.
In the app folder open page.tsx. Import the UserButton component and add it to the page markup. The UserButton component is Clerks default UI for user profile management and session signout.
import { UserButton } from "@clerk/nextjs";

// ...

<main className="flex min-h-screen flex-col items-center justify-between p-24">
  <div>
      <UserButton afterSignOutUrl="/"/>
  </div>

  {/* ... The existing page markup ... */}
</main>
Finally, add a new file named middleware.ts to the project root. This is a special file that Next.js uses to allow you to define application middleware. Middleware allows you to run code before a request is completed. Based on the incoming request, you can modify the response by rewriting, redirecting, modifying the request or response headers, or responding directly. Clerk uses a helper function called authMiddleware to integrate authentication into a Next.js application.
For our application add the following code to define the paths that Clerk should protect and to configure how Clerk performs that authentication:
import { authMiddleware } from "@clerk/nextjs";

export default authMiddleware({});

export const config = {
  matcher: ["/((?!.+\\.[\\w]+$|_next).*)", "/", "/(api|trpc)(.*)"],
};
The code uses Clerks recommended matcher, which by default protects all routes, with the exception of internal /_next/ routes and static files.
Let's test the application. Make sure it's still running (or run npm run dev again) and reload the site in the browser. Now when the site loads, the home page should automatically redirect to the Clerk sign-in because you haven’t authenticated yourself yet.
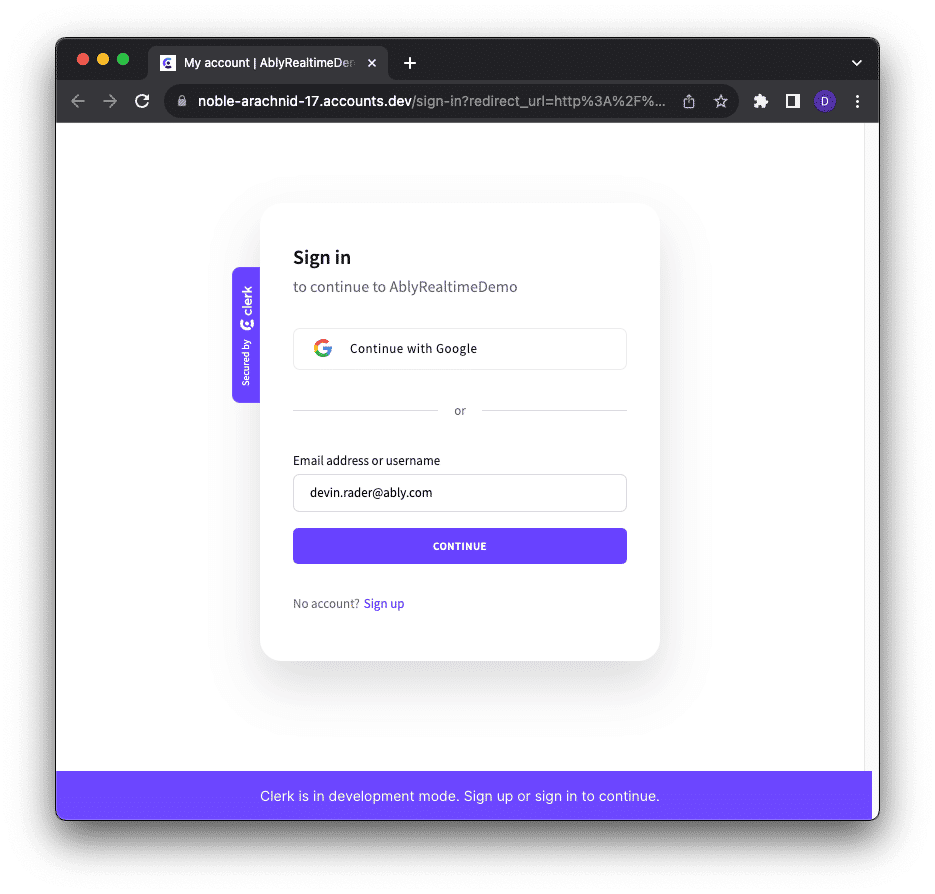
From the sign-in UI you can either use your existing Clerk user credentials to log in, or walk through the new user sign-up process. Once you can successfully authenticate you should be redirected back to the site home page.
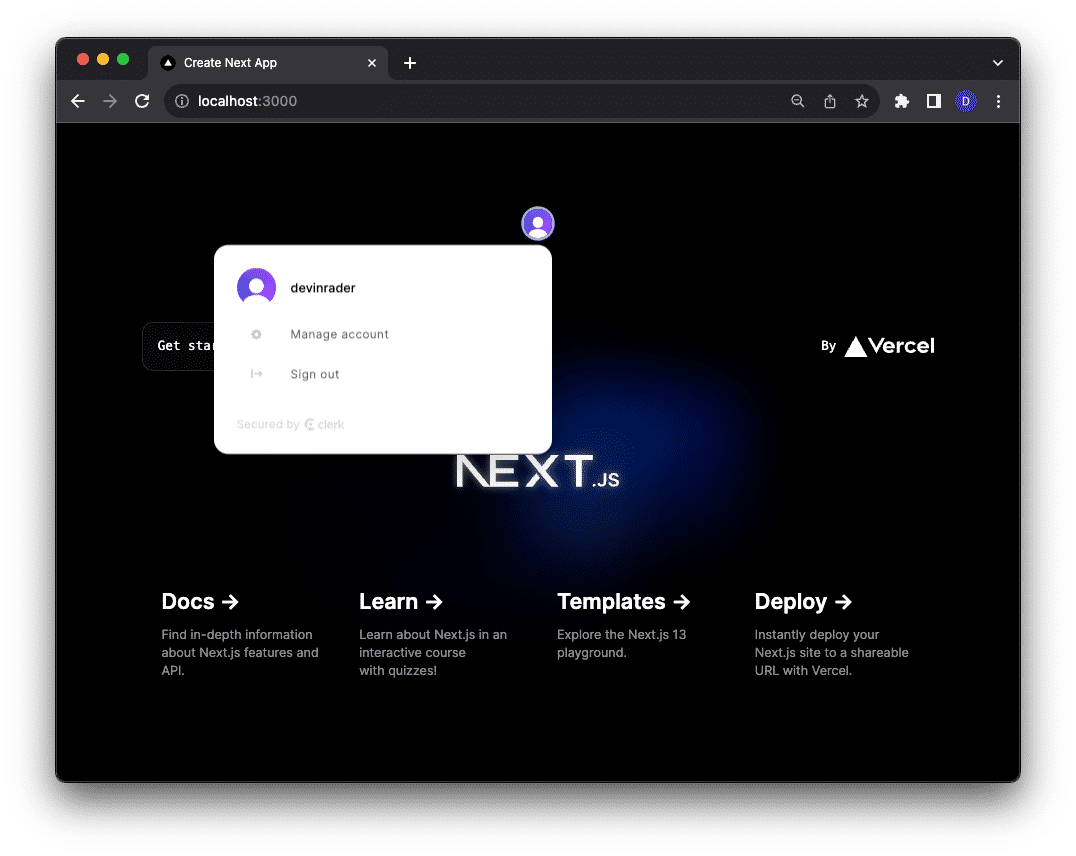
Notice that on the site home page, there is now a user avatar. This is Clerks UserButton. Click the button and a context menu with options to edit your profile or sign out are shown.
Token API
As mentioned earlier the matcher we’ve configured in the middleware protects any routes in the project, including the token generation route handler that comes preconfigured in the Ably starter kit project. You can find this route handler under the app/api/ably/ folder.
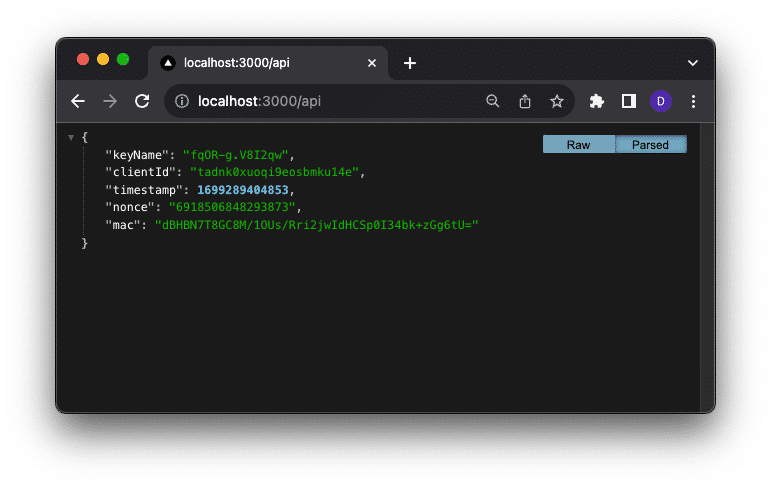
In this project, the route handler is used as an API endpoint. When requested, it generates and returns a Token Request the Ably Client uses to connect to Ably. Token Requests are one of several methods available from Ably that allow you to authenticate an Ably Client securely without exposing your API secret keys.
Try loading the route handler in the browser by loading http://localhost:3000/api/ably. When you load the route you will be redirected to the sign-in page because we’ve configured Clerk to protect all routes the same way - even the API route. Having an API endpoint redirect to a signup isn’t really the behavior that we want. Humans won’t be using this endpoint, browsers will, so we should return something a browser will understand like a 401 Unauthorized status code.
To accommodate this different expectation of API endpoints, Clerk includes an apiRoutes property that you can pass to the authMiddleware function in our middleware.ts file.
export default authMiddleware({
  apiRoutes: ["/api(.*)"],
});
Try loading the /api/ably/ endpoint again in the browser. This time it should return the 401 status code as we expect. Trying to load the root route of the website should continue to redirect to the sign-in page.
Log in to the site using the sign-in and then return to the /api/ably/ endpoint. This time, because you’ve created an authorized session, the API endpoint should return an Ably token.
Clerk Username as Ably Client ID
In our Token Request endpoint we’re randomly generating a string of characters to use as the Ably Client ID. Randomly generator strings okay but because we’re using Clerk we have actual user data, like a username. We can access the user data and use it as our client ID instead of a random number.
To do this import the currentUser function into the route.ts file:
import { currentUser } from "@clerk/nextjs";
Calling the currentUser function returns a user object which we can use to access the user's `username` property. Change the value of the clientId property that is passed into the createTokenRequest function from a hard-coded string to the users username:
export async function GET(request: Request) {
  const user = await currentUser();

  // ...

  //const clientId = Math.random().toString(36).substring(2, 15) + Math.random().toString(36).substring(2, 15);

  const client = new Ably.Rest(process.env.NEXT_ABLY_API_KEY as string);

  const tokenRequestData = await client.auth.createTokenRequest({
    clientId: user?.username as string
  });
  console.log(`Request: ${JSON.stringify(tokenRequestData)}`)
  return Response.json(tokenRequestData);
}
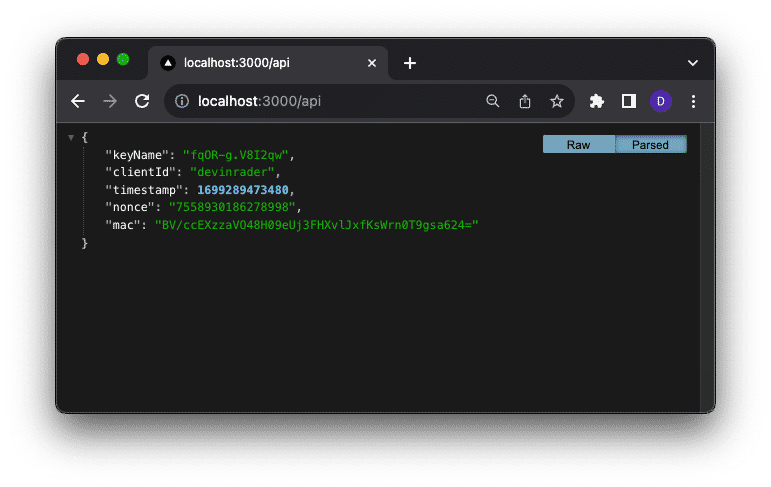
Reload the /api/ably/ endpoint and you should now see that the token contains the username.
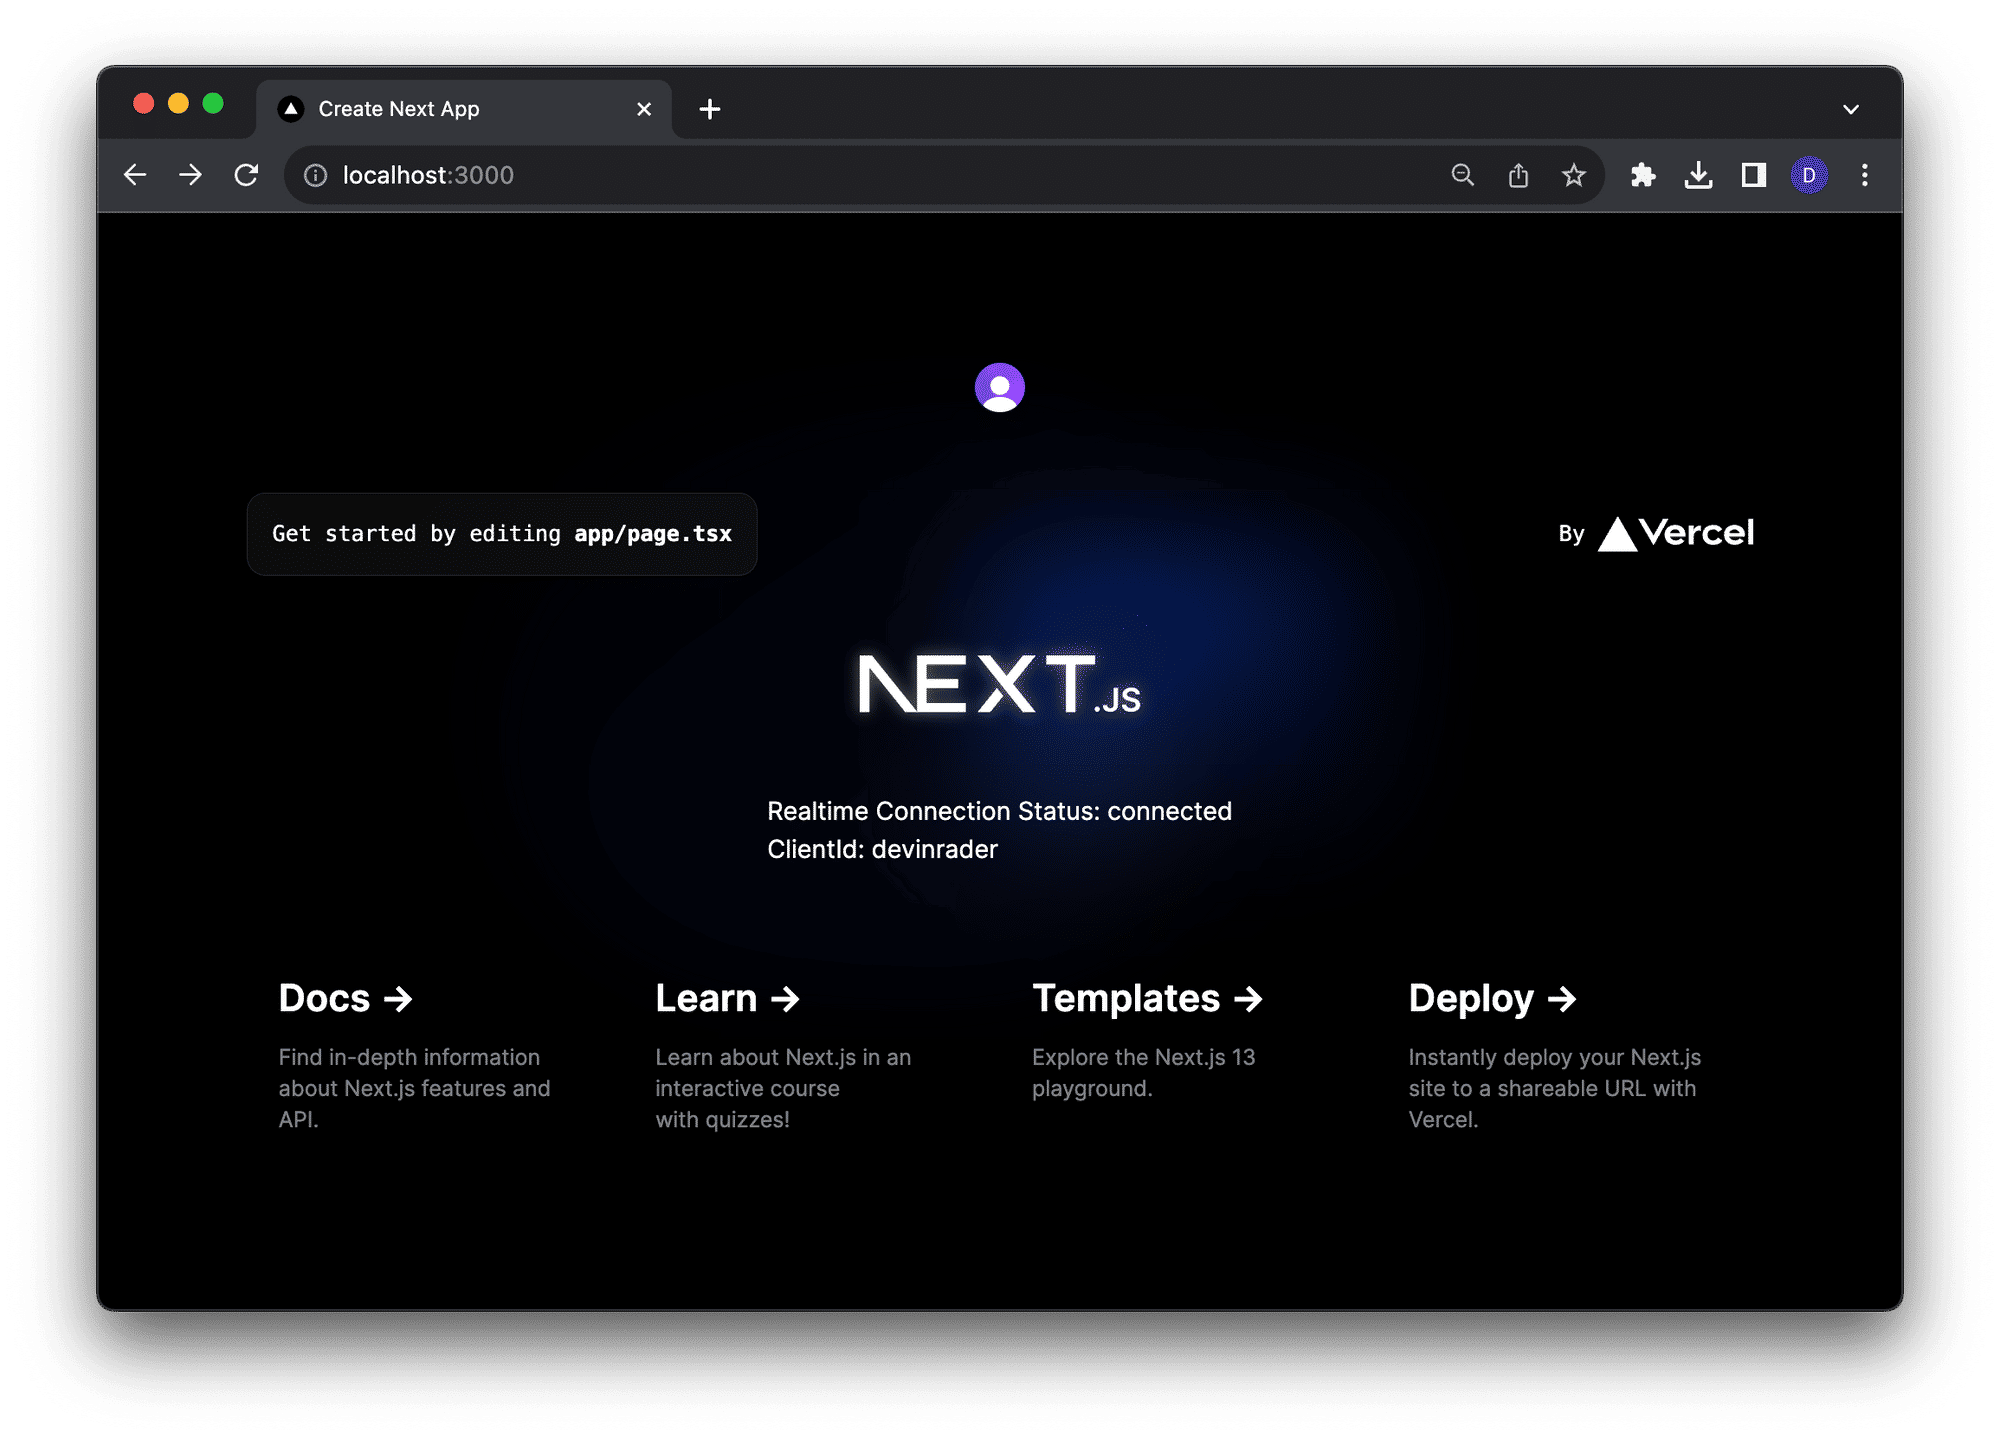
Lastly, display the connected client ID in the site by altering the `Status.tsx` component. Import the `useAbly` hook which returns an instance of the Ably client object. Use that instance to access and display the Client ID on the page.
'use client'
import Image from 'next/image'
import { useState } from 'react'
import { useConnectionStateListener, useAbly } from 'ably/react'
export default function Status() {
  const client = useAbly();
    const [state, setState] = useState('')
    useConnectionStateListener((stateChange) => {
      setState(stateChange.current)
    });

    return (
      <div>
        <p><span>Realtime Connection Status: {state}</span></p>
        <p><span>ClientId: {client.auth.clientId}</span></p>
      </div>
    )
}
Yay!
Wrapup
Clerk is a great tool for adding user management and application authentication to a React application. It makes it easy not only to protect React routes users will access, but also routes that client-side SDKs need to access.
In this post, I showed you how to use Clerk to protect an API route that generates Ably Token Requests. Token Requests are used by the ably-js client library to authenticate with Ably and allow you to add realtime experiences to your React application.
Additionally, I showed you how you access the user profile data managed by Clerk and use that as part of the Token Request generation process, setting the Ably client ID to the user’s username.
User management is a complex part of many websites. Clerk makes it easy to add to React applications. It would be simple to use Clerk to manage other parts of realtime applications like usernames in an Ably-powered chat application or tracking a Clerk user’s current status using Ablys presence capabilities.
Let me know how you are using Clerk in your application! Drop me a line on X (Twitter) or via an email to [email protected].