How to persist Ably messages into AWS S3

Ably webhooks enable users to configure custom rules that react to channel events such as messages being published or presence events from channels. These rules can notify HTTP endpoints, serverless functions or other services for each event.

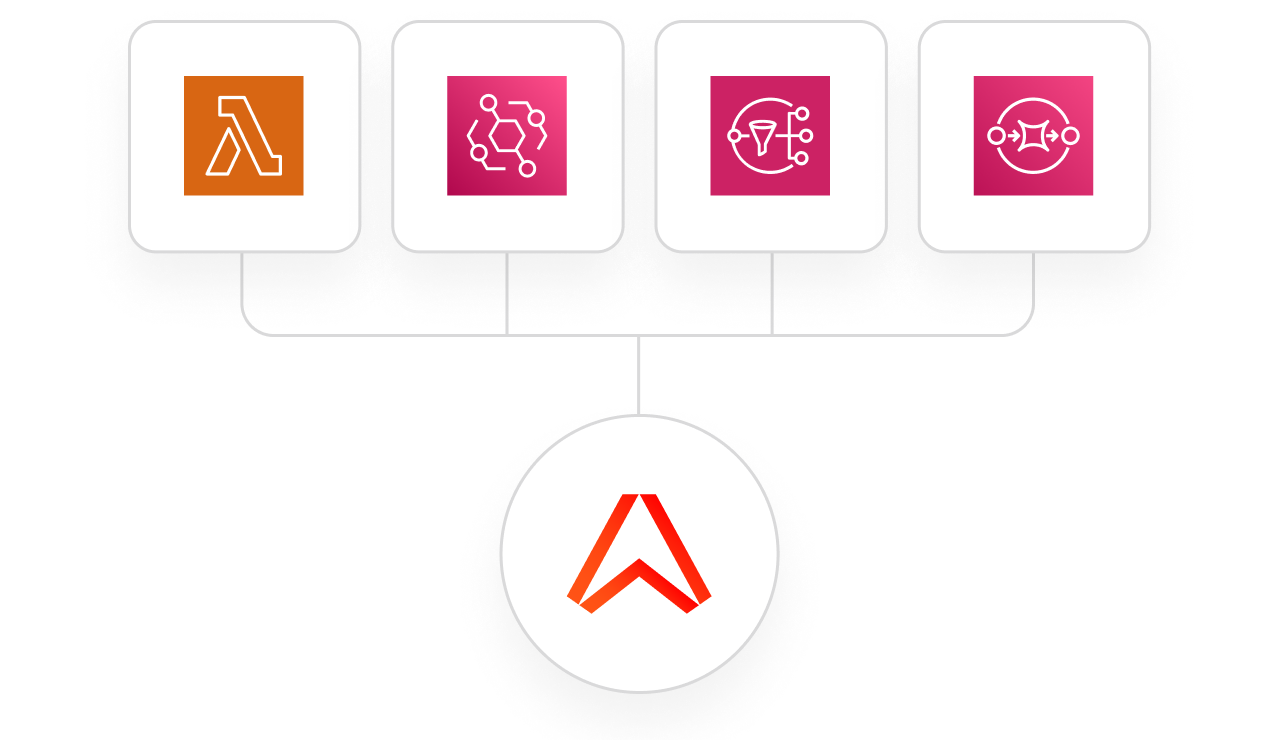
One way to expand on these rules is by using our integration with AWS Lambda to create more advanced rules. For example, triggering an action that copies data to a third party storage system for persistence when a message is sent.

In this tutorial you will learn how to create a channel rule that intercepts messages sent to a channel and persists them to a file in AWS Simple Storage Service. Note that S3 isn’t optimised for high volumes of small messages, if you’re sending many small messages you may want to try batching messages with AWS Kinesis and setting Kinesis to write to S3 instead. You can read more about Kinesis in our Kinesis tutorial.

To follow this tutorial you will need an AWS account. If you don’t have an AWS account you can create one for free.

Tutorial source code

The solution code for this tutorial is available on Github.

This repository contains two files:

  • index.html – A web page that enables users to subscribe to a channel and publish messages.
  • lambda_function.py – The AWS Lambda function that persists data to S3.

Create an AWS user

Once you’ve logged into AWS you need to set up a user capable of using both Lambda and S3. In this tutorial, you will grant high-level policies but you may want to employ stricter policies in a production deployment. You can read more about AWS authentication in the Ably docs.

From the AWS dashboard:

1. In the search bar, type “IAM” and press enter.

2. Click the IAM link in the search results.

3. Select Users from the left hand menu.

4. Click the Add users button.

5. Enter ably-persistence as the user name.

6. Check the Access-key – Programmatic access checkbox.

7. Click the Next: permissions button at the bottom of the page.

8. On the Set permissions page:

  • Select Attach existing policies directly.
  • Type AWSLambdaRole into the search box.
  • Check the AWSLambdaRole checkbox.

9. Click the Next: Tags button at the bottom of the page.

10. On the optional Add tags page, click the Next: Review buttomn at the bottom of the page.

11. Click Create user.

The page displays your new user with its associated Access key ID and Secret access key. Copy these keys and paste them somewhere: you will need them later in this tutorial.

Configure storage with S3

In this tutorial you will use S3 to store a simple plain text file. S3 is one of many scalable storage solutions in the AWS ecosystem but you can apply the principles shown in this tutorial to persist data with other services.

The first step is to set up an S3 bucket to host the file.

From the AWS dashboard:

1. In the console search bar, type “S3” and press enter.

2. Click the S3 link in the search results.

3. Click Create bucket.

4. Enter ably-message-data as the name of your bucket.

5. Click Create bucket.

Create the text file and upload it to your new bucket:

6. In your local environment create an empty test.txt file.

7. Select the ably-message-data bucket in the list of buckets.

8. Click the Upload button.

9. Click the Add files button.

10. Navigate to and select your test.txt file then click Open.

11. Click the Upload button at the bottom of the page.

You now have an S3 bucket set up with a file that you can use to save the data you want persisted.

Configure Lambda permissions

Before you write the code for the Lambda function, you need to assign it a role that defines what it has access to. You will grant high-level access in this tutorial but you should use stricter access controls in a production deployment.

From the AWS dashboard:

1. In the console search bar, type “IAM” and press enter.

2. Click the IAM link in the search results.

3. Click Roles in the left hand menu.

4. Click the Create role button.

5. Select the AWS service tile.

6. Select Lambda as the Common use cases.

7. Click the Next button.

8. On the Add permissions page, search for and select the following policies (click the Clear filters button after each search):

  • AWSLambdaBasicExecutionRole
  • AmazonS3FullAccess

9. Click the Next button at the bottom of the page.

10. Enter ably-persistence as the Role name.

11. Click the Create role button at the bottom of the page.

Create the Lambda function

You can now write the code for your Lambda function.

From the AWS dashboard:

1. In the console search bar, type “Lambda” and press enter.

2. Click the Lambda link in the search results.

3. Click the Create function button.

4. Select the Author from scratch tile.

5. Enter ably-persistence as the Function name.

6. Select the latest supported version of Python from the Runtime drop down.

7. Click Change default execution role to expand that section.

8. Select Use an existing role and choose ably-persistence from the drop down.

9. Click the Create function button at the bottom of the page.

AWS displays your new Lambda function, with a sample event handler:


New lambda page

10. Update lambda_function.py with the following code, remembering to replace the bucket name with the one you created:

import json, boto3, os, sys, uuid
from urllib.parse import unquote_plus

s3_client = boto3.client('s3')

def lambda_handler(event, context):
    bucket_name = "ably-message-data"              # Target S3 Bucket
    file_name = "test.txt"                         # Target file
    lambda_path = "/tmp/" + file_name              # Download file path
    s3_path = "output/" + file_name                # Upload file path

    file_object = open(lambda_path, 'a')           # Open downloaded file to append text to
    file_object.write("\n Message: " + event)      # Write the data to the text file
    file_object.close()                            # Save and close edited file

    s3 = boto3.resource("s3")
    s3.meta.client.upload_file(lambda_path, bucket_name, file_name)

Important! Click the Deploy button to deploy your Lambda function code before continuing. Ensure that you re-deploy the function every time you make a change to the code.

When you have configured your webhook, this code will be invoked every time a message is published. It will take the data from the message payload it receives from Ably, append it to the test.txt file and upload it back to S3.

Now you’re finished in AWS you can set up the Ably half of the workflow.

Create a new Ably app and API Key

You’re going to need an API key to use when sending messages to our channel. In your Ably dashboard:

1. Click the Create New App button.

2. Enter a new name for your app.

3. Click the Create app button.

4. Copy the Private API Key somewhere safe.

Configure your webhook

Now you have an app you can set up an integration rule with AWS Lambda which triggers when a new message is published within the app.

In your Ably dashboard:

1. Click the name of your app in the “breadcrumb trail” at the top of the page.

2. Select the Integrations tab.

3. Click the New Integration Rule button.

4. Select Webhook by clicking the Choose button below it, then do the same for AWS Lambda.

In the New Integration Rule dialog:

5. Select the region your AWS account is located in.

6. Enter ably-persistence as the Function Name.

7. Enter your AWS Credentials. This must be in the format AccessKeyID:SecretKeyID. For example, AKIAUUFPRLMPNUEMFQPK:hGdpSuMaEthcNtxH/KMdyDsrjxYj53sDwWuvjm3p.

8. Select JSON as the Encoding option.

9. Uncheck Enveloped (to keep the tutorial as simple as possible).

10. Click the Create button.

Create a user interface

To start generating messages to supply to your webhook you will set up a basic HTML page. This page will subscribe to a channel and publish messages to that channel when the user clicks a button.

Create a new index.html file on your local machine with the following contents:

<!DOCTYPE html>
<html lang="en">
  <body>
    <h1>Ably Webhook Lambda Test</h1>
    <button id="publish" type="button" value="Connecting...">Click to Publish</button>
    <div id="result" style="padding: 10px"></div>
  </body>

  <script
    type="text/javascript"
    src="https://cdn.ably.com/lib/ably.min-1.js"
  ></script>
  <script>
    const ably = new Ably.Realtime("ABLY_API_KEY"); /* ADD YOUR API KEY HERE */
    channel =
      ably.channels.get(
        "persistencetest"
      ); /* Channel name being published and subscribed to */

    const generateRandomString = (length = 8) =>
      Math.random().toString(20).substr(2, length);

    const btn = document.getElementById("publish");
    const results = document.getElementById("result");

    btn.addEventListener("click", () => {
      channel.publish("message", `${generateRandomString()}`);
    });

    ably.connection.on("connected", () => {
      btn.innerText = "Connected to Ably, click to publish a message";
    });

    channel.subscribe((message) => {
      results.innerHTML += `Message from Ably: ${message.data}<br/>`;
    });
  </script>
</html>

This file displays a simple interface for testing your webhook. It uses the Ably Realtime SDL to publish messages to and subscribe to messages from the persistencetest channel.

Ensure that you replace ABLY_API_KEY with your own app’s API key from the Ably dashboard.

Open index.html, and when the button caption states that you are connected to Ably, click it. A new, random message is sent to the channel. You can further inspect the connections made to and messages sent from your app by viewing the “Stats” tab for your app in the Ably dashboard.

If you now navigate to your S3 Buckets and select the ably-message-data bucket. Click the test.txt link and then click the Open button. Your browser will download the test.txt file. Open the file in a text editor and verify that it contains the list of messages sent.

You now know how to use Ably webhooks with AWS Lambda to persist data from your channel to a file in an S3 bucket.

Next Steps