With collaboration tools out there always pushing the frontier of responsive design in applications, such as Miro in the design space, it’s important to ensure that your own applications are providing the functionality developers are now expecting.
A fairly typical tool used by all, be it employees of a business attempting to organize a schedule, or individuals organizing their own social lives, are schedulers. These typically can be shared amongst a group of people, all of whom rely on it to know when they need what done when, or when certain events will be occurring.
Due to this, it’s a typical example where the faster you can ensure changes or additions to schedules are communicated, as well as guaranteeing delivery of these changes, the better.
In this blog post, we’ll be diving into how you can build your own scheduler through a combination of React, Ably, and Bryntum. By the end of this guide, you will have a fully functional collaborative scheduling tool that demonstrates the potential of Bryntum and Ably when combined. Whether for business meetings, project management, or event planning, this tool will be a testament to the power of realtime collaboration in scheduling.
Why Bryntum and Ably?
Bryntum Scheduler excels in providing a visually rich and interactive scheduling interface, which is crucial for an intuitive user experience. Its features, such as drag-and-drop editing, multiple views, and resource allocation, make it ideal for complex scheduling needs.
Ably, on the other hand, excels in managing realtime communications and state synchronization across multiple clients. This combination ensures that the scheduler is not just a static display of data, but a dynamic platform where changes are instantly communicated and reflected.
Prerequisites
Before we dive into the coding part, it’s important to have everything in place for a hassle-free development experience. Here's what you need to get started
- Bryntum Scheduler License: Secure a trial license for the Bryntum Scheduler. This component offers comprehensive scheduling functionalities essential for our project. You can start with their 45-day trial version but you'll need to upgrade your licence after that.
- Ably Account: Set up a free account with Ably, a platform that specializes in handling realtime data synchronization.
- Development Environment: Your machine should be equipped with Node.js and npm. Ensure you have these installed by running
node -vandnpm -vin your terminal.
Setting Up the Development Environment
Initializing the Project with Vite
We’ll be using Vite to set up our React application, using an existing template project which comes with an api endpoint that can be used for generating Ably Tokens.
npx giget@latest gh:ablydevin/starter-kits/vite-react-javascript my-scheduler-app

cd my-scheduler-app
Adding Bryntum and Ably
Install the Bryntum Scheduler and Ably libraries in your project:
npm install @bryntum/scheduler@npm:@bryntum/scheduler-trial @bryntum/scheduler-react ably @ably/spaces vite-plugin-api-routes
This command adds both Bryntum Scheduler for the front-end interface and Ably for realtime data management to your project dependencies.
Setup the Ably client
With the default app working, let’s start working on establishing our connection with Ably, which we will be using to maintain synchronization between clients, as well as useful functionality such as seeing who is currently present.
Setup the Ably Token Endpoint
The default app we initialized contains an api endpoint, /src/api/ably/token.js. This is responsible for generating Ably Tokens for our clients to make use of to communicate with Ably. We need to initialize our environment variable VITE_ABLY_API_KEY to contain an Ably API key. This is what our server will use to generate tokens for our clients. It’s important that this is kept solely server-side, else we’d be giving any client unrestrictable access to Ably.
Run the following to create our .local.env file:
cp .env.example .env.localNext, in the .env.local file you’ve now created, add your API key to the placeholder for VITE_ABLY_API_KEY:
VITE_ABLY_API_KEY="[YOUR_ABLY_API_KEY]"If you now go to http://localhost:5173/api/ably/token, you should be greeted with an Ably Token as the response, which’ll look something like:
{
    "keyName": "ABCDeFgWK",
    "clientId": "randomClientId",
    "Timestamp": 1704474201875,
    "Nonce": "658031321838998530",
    "mac": "0I488hjhjjHGfjJDSK="
}
Initializing the Ably Client
With a token endpoint created, we can now use it to initialize an Ably Client. Replace the contents of main.jsx with the following:
import React from "react";
import Ably from "ably/promises";
import { AblyProvider } from "ably/react";
import ReactDOM from "react-dom/client";
import App from "./App.jsx";
import "./index.css";
import Spaces from "@ably/spaces";
import { SpacesProvider, SpaceProvider } from "@ably/spaces/react";

const client = new Ably.Realtime.Promise({ authUrl: "/api/ably/token" });
const spaces = new Spaces(client);

ReactDOM.createRoot(document.getElementById("root")).render(
  <React.StrictMode>
    <AblyProvider client={client}>
      <SpacesProvider client={spaces}>
        <SpaceProvider name="datagrid" options={{ offlineTimeout: 10_000 }}>
          <App />
        </SpaceProvider>
      </SpacesProvider>
    </AblyProvider>
  </React.StrictMode>,
);
You’ll notice that we’ve got a few main imports, Ably, AblyProvider, Spaces, and SpacesProvider. These all are libraries from Ably which provide useful functionality for making it simple to work with Ably in React:
- Ably is the core Ably client library, and is what is used by all other libraries to ensure we have a single connection per client.
- AblyProvider is a useful wrapper which provides React-friendly functionality for our core Ably functionality.
- Spaces is a specialized library for creating collaborative applications, much like this scheduler. In this blog we’ll be using it for the ‘who is currently online’ indicators we’ll be creating.
- SpacesProvider, much like AblyProvider, acts as a wrapper for Spaces, providing some useful React functionality.
Overall, all that we’re doing here is instantiating a connection to Ably using an authUrl pointed at our Token Endpoint, and then using that in our additional libraries to be used for future functionality.
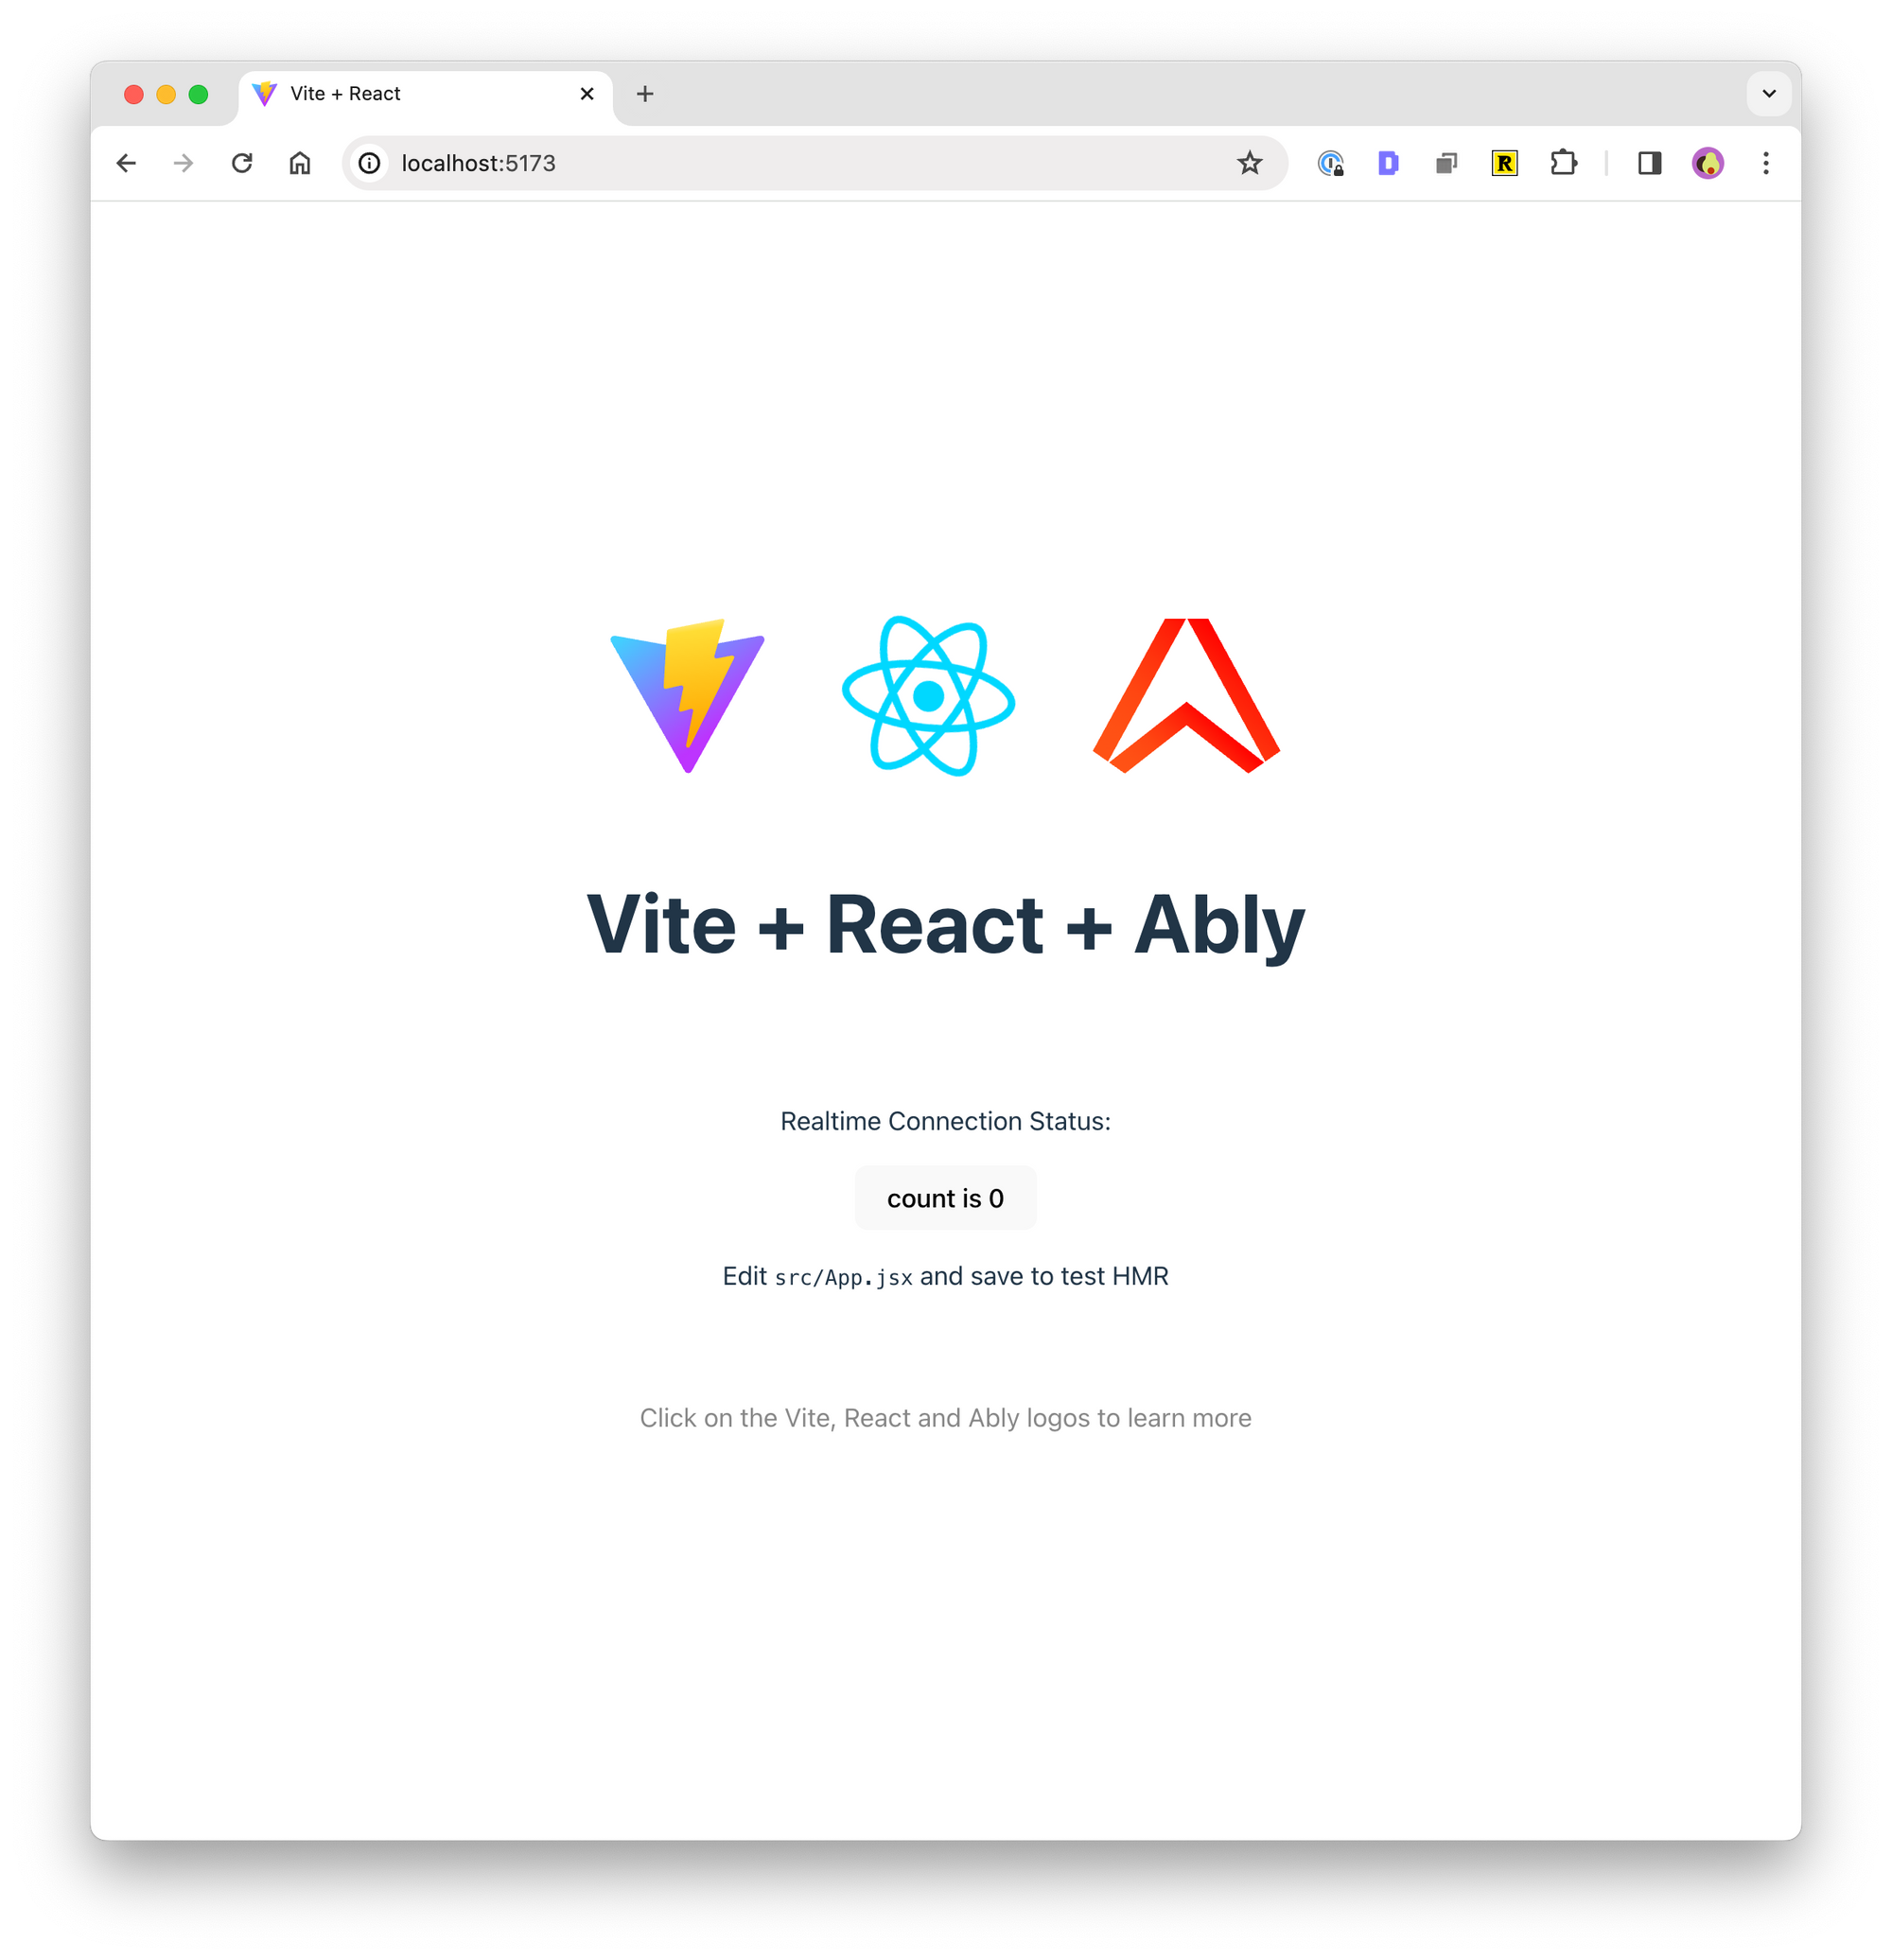
This is a good stage to make sure everything is working okay. Run npm run dev, and load up http://localhost:5173/.
You should see the default Vite page:
Integrating the Bryntum Scheduler into the React Application
With our Ably client ready to be used, let’s start implementing our scheduler to make use of it. Replace the contents of App.jsx with the following:
import { useRef, useMemo, useEffect, useState } from "react";
import { getSchedulerConfig } from "./config/schedulerConfig";
import { BryntumScheduler } from "@bryntum/scheduler-react";
import "./App.css";

function App() {
  const schedulerRef = useRef(null);
  const members = [];
  let schedulerConfig = useMemo(() => getSchedulerConfig(members), [members]);
  return (
    <>
      <BryntumScheduler
        ref={schedulerRef}
        {...schedulerConfig}
        width={1000}
        height={500}
      />
    </>
  );
}

export default App;
Here we are making use of the BryntumScheduler for creating our schedule. We need to pass a configuration object to define how it’ll look and operate, so create a new file in /src/config/schedulerConfig.js with the following contents:
export const getSchedulerConfig = (members) => {
  // Configuration for Bryntum Scheduler
  return {
    autoAdjustTimeAxis: false,
    emptyText: "",
    zoomOnMouseWheel: false,
    zoomOnTimeAxisDoubleClick: false,
    responsiveLevels: {
      small: {
        levelWidth: 800,
        rowHeight: 35,
        barMargin: 2,
      },
      normal: {
        levelWidth: "*",
        rowHeight: 50,
        barMargin: 5,
      },
    },
    viewPreset: {
      base: "hourAndDay",
      timeResolution: {
        unit: "minute",
        increment: 5,
      },
    },
    columns: [
      {
        field: "name",
        text: "Name",
        width: 70,
      },
    ],
    bbar: [
      {
        type: "widget",
        html: "<label>Who is online:</label>",
      },
      {
        type: "container",
        html: members
          .map((member) => `<span>${member.profileData.username}</span>`)
          .join(", "),
      },
    ],
  };
};
Here we’re defining the layout of the calendar, and notably adding a widget and container in the bottom bar (bbar), which we will eventually use to display who’s currently online.
Finally to ensure everything renders correctly, change App.css to the following:
@import '@bryntum/scheduler/scheduler.material.css';

body {
  font-family : sans-serif;
  font-size   : 14px;
  padding     : 0;
  margin      : 0;
}
If everything has gone right, you should be faced with an empty scheduler:

Initializing the scheduler
Let’s work on an initial state for our scheduler. We’ll be using the sample data provided as part of Bryntum’s WebSockets demo, and provide it via an api endpoint to the client.
Create a new file, /src/api/state.js, with the following code:
let initData = {
  timestamp: 1704465181411,
  data: {
    resources: [
      {
        id: 1,
        name: "Rob",
        type: "Sales",
        eventColor: "red",
      },
      {
        id: 2,
        name: "Mike",
        type: "Sales",
        eventColor: "orange",
      },
      {
        id: 3,
        name: "Kate",
        type: "Sales",
        eventColor: "green",
      },
      {
        id: 4,
        name: "Lisa",
        type: "Developer",
        eventColor: "blue",
      },
      {
        id: 5,
        name: "Dave",
        type: "Developer",
        eventColor: "teal",
      },
      {
        id: 6,
        name: "Arnold",
        type: "Developer",
        eventColor: "lime",
      },
      {
        id: 7,
        name: "Lee",
        type: "Marketing",
        eventColor: "purple",
      },
      {
        id: 8,
        name: "Jong",
        type: "Marketing",
        eventColor: "cyan",
      },
    ],
    events: [
      {
        id: 1,
        resourceId: 1,
        name: "Important Meeting",
        startDate: "2019-02-07 09:00",
        endDate: "2019-02-07 10:30",
        durationUnit: "h",
        eventType: "Meeting",
        iconCls: "b-fa b-fa-exclamation-circle",
      },
      {
        id: 2,
        resourceId: 2,
        name: "Team Meeting",
        startDate: "2019-02-07 10:00",
        endDate: "2019-02-07 11:30",
        durationUnit: "h",
        eventType: "Meeting",
        iconCls: "b-fa b-fa-calendar",
      },
      {
        id: 3,
        resourceId: 3,
        name: "Take cat to vet",
        startDate: "2019-02-07 11:00",
        endDate: "2019-02-07 12:30",
        durationUnit: "h",
        eventType: "Appointment",
        iconCls: "b-fa b-fa-cat",
      },
      {
        id: 4,
        resourceId: 4,
        name: "Launch",
        startDate: "2019-02-07 12:00",
        endDate: "2019-02-07 13:30",
        durationUnit: "h",
        eventType: "Appointment",
        iconCls: "b-fa b-fa-info",
      },
      {
        id: 5,
        resourceId: 5,
        name: "Sales demo",
        startDate: "2019-02-07 13:00",
        endDate: "2019-02-07 14:30",
        durationUnit: "h",
        eventType: "Appointment",
        iconCls: "b-fa b-fa-clock",
      },
      {
        id: 6,
        resourceId: 6,
        name: "Daily Scrum",
        startDate: "2019-02-07 14:00",
        endDate: "2019-02-07 15:30",
        durationUnit: "h",
        eventType: "Meeting",
        iconCls: "b-fa b-fa-calendar",
      },
      {
        id: 7,
        resourceId: 7,
        name: "Sales Forecast Meeting",
        startDate: "2019-02-07 15:00",
        endDate: "2019-02-07 16:30",
        durationUnit: "h",
        eventType: "Meeting",
        iconCls: "b-fa b-fa-calendar",
      },
      {
        id: 8,
        resourceId: 8,
        name: "Get car repaired",
        startDate: "2019-02-07 16:00",
        endDate: "2019-02-07 17:30",
        durationUnit: "h",
        eventType: "Appointment",
        iconCls: "b-fa b-fa-car",
      },
      {
        id: 9,
        resourceId: 8,
        name: "Dentist Appointment",
        startDate: "2019-02-07 10:00",
        endDate: "2019-02-07 11:00",
        durationUnit: "h",
        eventType: "Appointment",
        iconCls: "b-fa b-fa-clock",
      },
      {
        id: 10,
        resourceId: 6,
        name: "Presentation",
        startDate: "2019-02-07 10:00",
        endDate: "2019-02-07 12:00",
        durationUnit: "h",
        eventType: "Appointment",
        iconCls: "b-fa b-fa-video",
      },
      {
        id: 11,
        resourceId: 7,
        name: "Customer Meeting",
        startDate: "2019-02-07 10:00",
        endDate: "2019-02-07 11:30",
        durationUnit: "h",
        eventType: "Meeting",
        iconCls: "b-fa b-fa-calendar-alt",
      },
      {
        id: 12,
        resourceId: 3,
        name: "Visit cafe",
        startDate: "2019-02-07 14:00",
        endDate: "2019-02-07 16:00",
        durationUnit: "h",
        eventType: "Appointment",
        iconCls: "b-fa b-fa-mug-hot",
      },
      {
        id: 13,
        resourceId: 2,
        name: "Movie",
        startDate: "2019-02-07 14:30",
        endDate: "2019-02-07 16:00",
        durationUnit: "h",
        eventType: "Appointment",
        iconCls: "b-fa b-fa-film",
      },
      {
        id: 14,
        resourceId: 1,
        name: "Meet train",
        startDate: "2019-02-07 15:00",
        endDate: "2019-02-07 16:00",
        durationUnit: "h",
        eventType: "Appointment",
        iconCls: "b-fa b-fa-train",
      },
    ],
  },
};

export const GET = async (req, res) => {
  return res.json(initData);
};
To make use of this endpoint, we’ll call it, and update our scheduler object with the data.
Go back to App.js and paste the following above the return statement:
const [startTimestamp, setStartTimestamp] = useState(0);

setStartTimestamp(initialState.timestamp);
let ignoreChange = false;
useEffect(() => {
  if (!schedulerRef.current) return;
  // Fetch initial state and set up initial timestamp
  const fetchInitialState = async () => {
    ignoreChange = true;
    try {
      const response = await fetch("/api/state");
      if (!response.ok) {
        throw new Error("Failed to fetch initial state");
      }
      const initialState = await response.json();
      setStartTimestamp(initialState.timestamp);

      const scheduler = schedulerRef.current?.instance;
      Object.assign(scheduler, initialState.data);
      updateTimeLine();
      await scheduler.project.commitAsync();
    } catch (error) {
      console.error("Error fetching initial state:", error);
    }
    ignoreChange = false;
  };

  fetchInitialState();
}, [schedulerRef]);

const updateTimeLine = () => {
  const scheduler = schedulerRef.current?.instance;

  if (scheduler.events.length > 0) {
    scheduler.setTimeSpan(
      scheduler.eventStore.min("startDate"),
      scheduler.eventStore.max("endDate"),
    );
  }
};
These functions are effectively performing 3 actions:
- Making a request to our endpoint with our initialization data for the data.
- Using this data to update the scheduler.
- Updating the timeline, so that the events are focused in the UI of the client.
We’ve also got a variable, startTimestamp, which will be useful when we’re trying to initialize in addition to listening to further changes from other clients, ensuring we don’t miss any events and don’t duplicate any.

With this, you should be able to locally make changes to the scheduler. At this stage we have yet to introduce any realtime capabilities however, so changes will not persist between loads, and clients won’t be in sync with one another.
Communicating events with Ably
The next important thing to tackle is how we communicate changes and additions to other clients. Thankfully Bryntum comes with the capability to attach listeners to creation and change events. Towards the top of the App function add the following useEffect:
useEffect(() => {
  async function initListeners() {
    const scheduler = schedulerRef.current?.instance;
    scheduler.eventStore.on({
      change: onEventStoreChange,
      addConfirmed: onEventStoreAddConfirmed,
      eventDrag: onEventDrag,
      afterEventDrop: onEventDrop,
    });
  }
  initListeners();
}, [schedulerRef]);

const onEventStoreChange = (event) => {};

const onEventStoreAddConfirmed = ({ record }) => {};

const onEventDrag = ({ eventRecords, startDate, context }) => {};

const onEventDrop = ({ eventRecords, valid }) => {};
Note: We have a variable, ignoreChange, which is needed due to activity from a person editing events, and events being programmatically changed, being indistinguishable for the listeners. We’ll be using this variable to determine if we’re currently causing programmatic changes or not, and if so avoid them being communicated via Ably as new actions.
Here we’ve established listeners for various events:
- onEventStoreChange - This is when an event has been added, removed, or updated. This is important for us to use to ensure events are the same for everyone.
- onEventDrag - This is someone attempting to interact with an event. We will want to avoid scenarios where multiple people edit it at once, so we can use this to lock events when someone is actively dragging it.
- onEventDrop - This is activated when someone stops dragging an event. We will use this to make an event available again for editing to everyone.
Publishing events
Let’s start by setting up our onEventStoreChange to work. Add the additional import for useChannel at the top of the App.jsx file:
import { useChannel } from "ably/react";
At the top of our App function, create a reference to an Ably channel:
const CHANNEL_NAME = "[?rewind=10s]scheduler";
const { channel } = useChannel(CHANNEL_NAME);
We’ll publish to this channel changes to events, for other clients to listen to. You may also note that we’ve added in a parameter of rewind=10s as part of the channel name. This will mean that once we subscribe to the channel later on, we will not only receive future messages, but also receive the prior 10 seconds worth of messages. This will be useful for us to ensure we don’t miss any event updates between requesting the state from the server and subscribing to future updates.
For now we’ll focus on publishing our own event changes. Add the following code, where we will send a differently named message depending on the type of event.
const onEventStoreChange = (event) => {
  const { action, changes } = event;

  const records = (event.records ? event.records : [event.record]).filter(
    (r) => r?.isPersistable,
  );
  if (!records.length || ignoreChange) {
    return;
  }

  switch (action) {
    case "update": {
      const data = {};
      // changes has format { value, old }, we only need value
      Object.keys(changes).forEach((key) => {
        data[key] = changes[key].value;
      });
      channel.publish("updateEvent", { id: records[0].id, changes: data });
      break;
    }

    case "remove":
      channel.publish("removeEvent", { records: records.map((rec) => rec.id) });
      break;

    case "add":
      channel.publish("addEvent", { records });
      break;
  }

  updateTimeLine();
};

const onEventStoreAddConfirmed = ({ record }) => {
  channel.publish("addEvent", { records: [record] });
};
Subscribing to events
With event updates being sent to Ably, we now need to let clients listen in to these changes, and adjust accordingly. Add the following useEffect to the App function:
useEffect(() => {
  if (!schedulerRef.current) return;

  const onMessage = async (msg) => {
    if (msg.timestamp <= startTimestamp) return;
    const scheduler = schedulerRef.current?.instance;
    ignoreChange = true;
    handleMessage(msg);
    updateTimeLine();
    await scheduler.project.commitAsync();
    ignoreChange = false;
  };

  channel.subscribe(onMessage);
}, [schedulerRef]);
Here we are subscribing to event changes from other clients. As long as the message is from after our initial startup timestamp we will pass the message on to be handled by handleMessage, and then update our scheduler and timeline to ensure it’s correctly reflected.
For our handleMessage function, we will have handlers for adding, removing, and editing events. Adding and removing are as simple as removing or adding the events from the eventStore by their ID. For change events, we will simply overwrite the existing events.
const handleMessage = (msg) => {
  const command = msg.name,
    data = msg.data,
    userName = msg.clientId,
    scheduler = schedulerRef.current?.instance,
    eventRecord = data.id ? scheduler.eventStore.getById(data.id) : null;
  switch (command) {
    case "updateEvent":
      Object.keys(data.changes).forEach((key) => {
        if (key.endsWith("Date")) {
          data.changes[key] = new Date(data.changes[key]);
        }
      });

      Object.assign(eventRecord, data.changes);
      updateTimeLine();
      break;

    // Removing an event
    case "removeEvent":
      scheduler.eventStore.remove(data.records);
      break;

    // Adding an event
    case "addEvent":
      scheduler.eventStore.add(data.records);
      break;
  }
};
At this stage you should now be able to open the webpage multiple times, and have the changes between them propagated between one another! It does not currently work however when a client has joined late and missed previous changes. To achieve this, we’ll need to adjust our server’s representation of the base state to reflect the changes that occur over time. This will mean a new client when joining will start off with an up-to-date version of the scheduler.
In a production environment you’d likely want this to make use of a database for persisting the state, but for the blog we will simply be keeping it in the server’s memory, in the existing object we’ve defined.
In your /api/state.js file, import Ably at the top:
import Ably from "ably/promises";
Below the object creation, add the following Ably listeners, which will apply adds, removes, and changes appropriately to our object:
const client = new Ably.Realtime(import.meta.env.VITE_ABLY_API_KEY);
client.channels.get("scheduler").subscribe("updateEvent", (message) => {
  let change = message.data;
  const eventToUpdate = initData.data.events.find(
    (event) => event.id === change.id,
  );
  if (eventToUpdate) {
    Object.keys(change.changes).forEach((key) => {
      eventToUpdate[key] = change.changes[key];
    });
    initData.timestamp = message.timestamp;
  }
});

client.channels.get("scheduler").subscribe("addEvent", (message) => {
  let change = message.data;
  change.records.forEach((newEvent) => {
    const eventExists = initData.data.events.some(
      (event) => event.id === newEvent.id,
    );
    if (!eventExists) {
      initData.data.events.push(newEvent);
      initData.timestamp = message.timestamp;
    } else {
      console.error(
        `Event with ID ${newEvent.id} already exists. Skipping addition.`,
      );
    }
  });
});

client.channels.get("scheduler").subscribe("removeEvent", (message) => {
  let change = message.data;
  console.log(change);
  change.records.forEach((newEvent) => {
    console.log(newEvent);

    initData.data.events = initData.data.events.filter((event) => {
      console.log();
      return event.id !== newEvent;
    });
    initData.timestamp = message.timestamp;
  });
});
With this, you should now find that all clients should have a consistent view of the scheduler at all times, regardless of when they join.
Adding presence indicators
With the above done, we’ve now got a fully functional scheduler. There are various other features which are expected by users these days though, one of which is presence indicators. We’ve already created a section at the bottom of the scheduler, where we can list out who’s currently active.
To do this, we’ll be making use of the Ably Spaces SDK we’ve already included. The SDK is custom built for these sorts of problems, so should also make it easy for you to add further collaborative features if you wish, such as live cursors and component locking.
To generate some names for our users, let’s create an array we can select from at the top of App.jsx:
const USER_NAMES = [
  "Austin",
  "Bennett",
  "Christopher",
  "Dominic",
  "Eddi",
  "Felix",
  "Grady",
  "Henry",
  "Ivan",
  "Jack",
  "Kane",
  "Lambert",
  "Mickey",
  "Nolan",
  "Oliver",
  "Princeton",
  "Quentin",
  "Remi",
  "Samson",
  "Thomas",
  "Urbain",
  "Vance",
  "Weston",
  "Xavier",
  "York",
  "Zane",
  "Ariel",
  "Brinley",
  "Catarina",
  "Diana",
  "Emma",
  "Fiona",
  "Gabriella",
  "Harmony",
  "Isabella",
  "Jillian",
  "Katalina",
  "Lily",
  "Matilda",
  "Nadia",
  "Olivia",
  "Priscilla",
  "Quinn",
  "Renee",
  "Staci",
  "Trinity",
  "Ursula",
  "Victoria",
  "Wendy",
  "Xenia",
  "Yasmine",
  "Zoe",
];
Next, with the imports for App.jsx, let’s get an instance of the Spaces SDK, as well as of the members object for the space:
import { useSpace, useMembers } from "@ably/spaces/react";
At the top of the App function, first remove the placeholders members object.
Replace it with the following:
const { space } = useSpace();
const { self, members } = useMembers();
// const members = [];
Make sure to remove the placeholder members object we had declared here.
We can enter the space using one of the random names we’ve listed. Let’s add a new effect, which will allow the current client to enter a space:
useEffect(() => {
  space?.enter({
    username: USER_NAMES[Math.floor(Math.random() * USER_NAMES.length)],
  });
}, [space]);
With that done, you should find that online members are correctly listed at the bottom of the scheduler.

Conclusion
In this tutorial, we have successfully created a collaborative scheduling application using Bryntum Scheduler and Ably. This application exemplifies the power of realtime collaboration in modern web applications.
This could be easily extended to include more features to enhance the user’s experience. For example, adding live cursors would help immensely in helping others get a sense of what other users are doing, and avoid confusion when certain events change seemingly with no lead up.
Making use of component locking in a more robust way, providing proper visuals as to who is currently editing what, can help as well with making the collaborative aspects even more intuitive.
You can find the code from this blog post on GitHub.